It is my turn (Barbara), to share with you a blog project using the lovely stamps by Prima for the Ali-Craft Design Team.
These are a range of Art Doll stamps designed by Julie Nutting. They are suitable for using with a range of Mixed media.
Today I am playing with doll number 181
Here is my Memo Board

Here is the Prima Art Doll I used.
First of all, gather your supplies.

As you can see I have used a fair few bits and pieces!
Martha Stewart Punch
Treasure Gold in Classic
Alphabet Dies
Spiral flower Dies
Felt
Tim Holtz Frosted Film
Chip Board Scalloped Rectangle
Promarkers
Ranger Glue and Seal in Matt
Clear and Pepper Embossing Powder by WOW
Stazon ink Black
Momento in Black
Post it notes
Here is how I made it.
Step One.
Cover your chipboard Shape with patterned Paper, I used Prima paper, I adhered this using Glue and Seal in Matt by Ranger.
Step 2.
Using my Distress Paints I daubed around the edges and then used my fingers to blend the paint onto the surface. If you find you have got patches of really strong colour, you can tone it down by adding Antique linen.
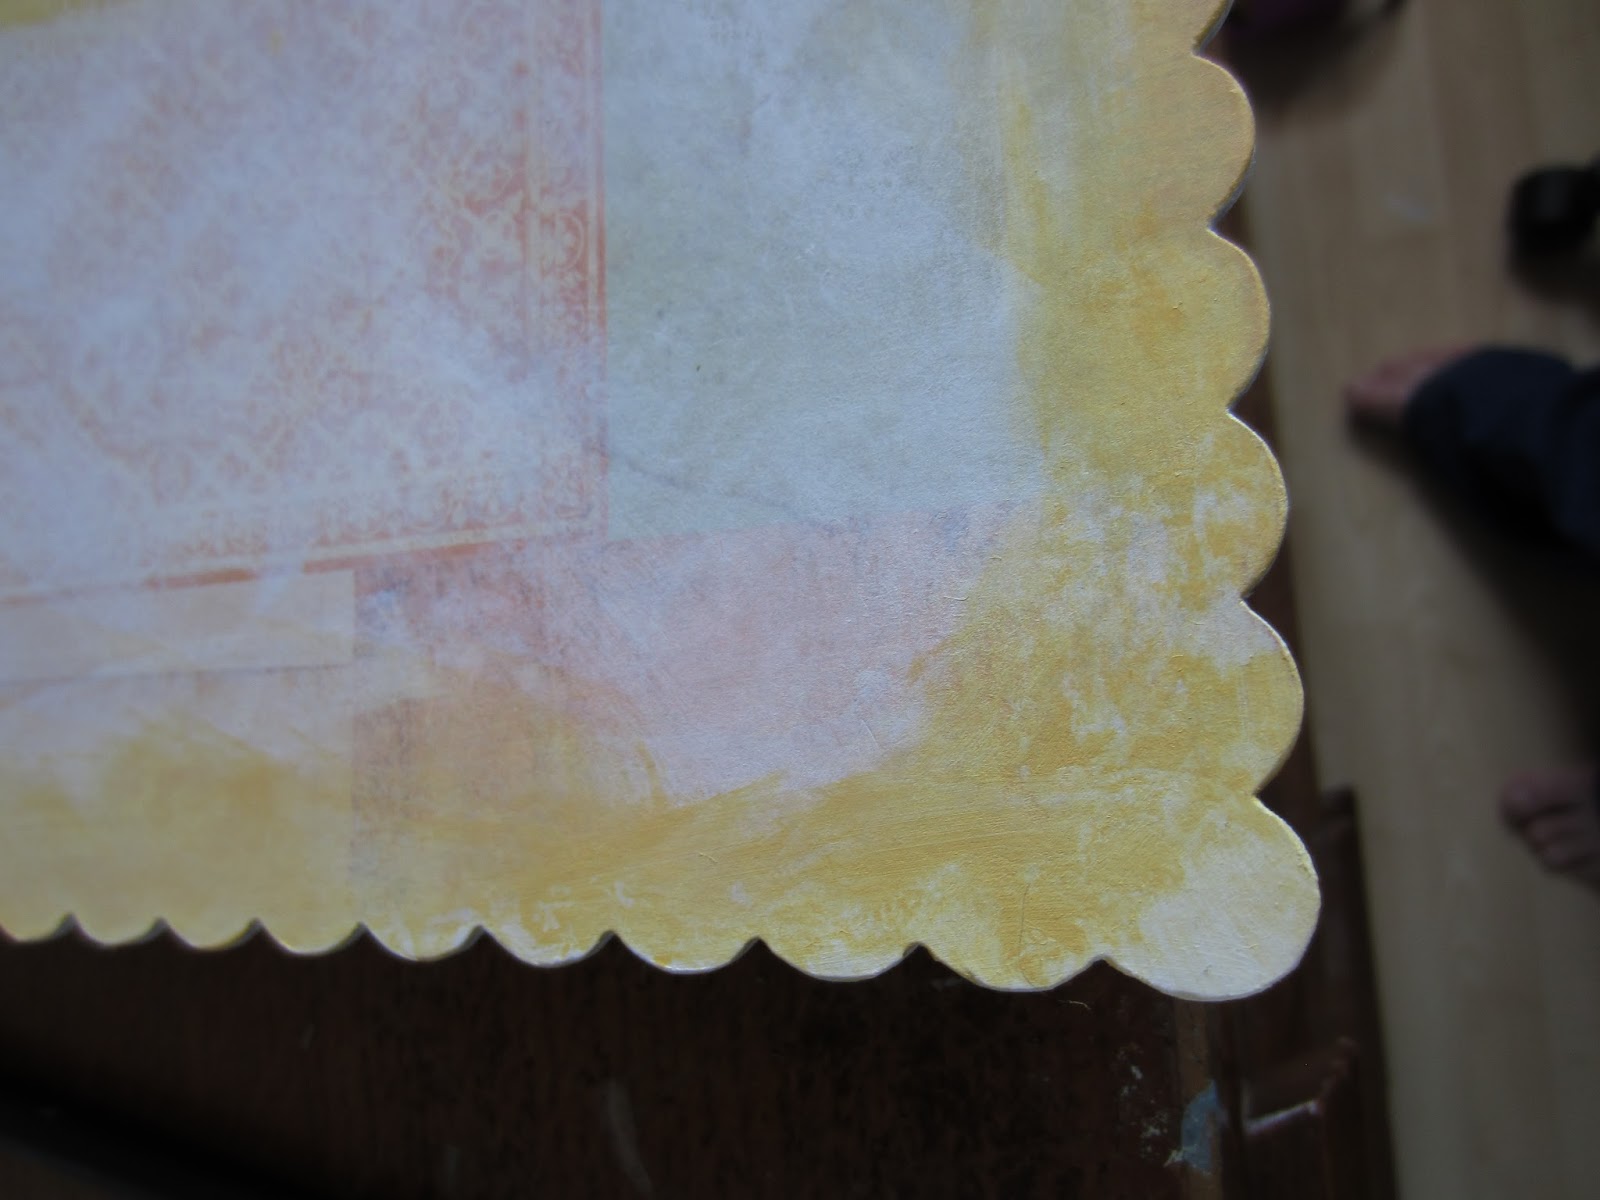
Once that had dried I took my Damask stencil by Prima and Antique Linen Distress ink, I applied this in patches over the surface. I sprinkled on my Embossing powder tapped off the excess and zapped it with my Heat Gun.

I carried on using my other stencils with lighter shades of distress ink until I was happy with my background.

 |
| Brushes are available from Ali Craft |
Step Three.
I stamped my Doll onto card that is suitable for promarkers and coloured her in, I then proceeded to cut her out using fine tipped scissors and a craft knife ( for the gaps between her feet and legs).

Stamp another Doll onto some patterned paper and cut out her dress.
Step Four.
I applied a piece of Frosted film to some Paper from the Prima Pad Devine and stamped directly on top with the Wings stamp. I used Stazon for this step.
I then used the tutorial by Tammy Tutterow to transfer the pattern to the frosted film, once I had finished this step I used an sizzix embossing folder to add some dimension to her wings.
 |
| Wing Detail |
Step Five.
Cut out your Spiral Flowers in Felt and assemble. Then punch some Branches from some scraps of paper.
Step Six.
Cut out your Letters and cover with Versamark and heat emboss using Wow embossing powder in Pepper, add a touch of Treasure gold if you'd like a mottled effect.

Step Seven.
Using the Treasure Gold accent the edges, leave this for about half an hour and then buff it up to give it a real sheen.

Now we can start to put all the elements together.
Adhere your Post it notes to the bottom of your panel, making sure you have room for your doll. Add some foam pads to the back of your doll and add her wings, adhere this to the panel.
Add your letters where you'd like them to be and glue down, I just used an PVA glue in a fine tipped bottle. Next add your flowers and you are finished.
If you own one of these dolls, you could always enter our current monthly blog challenge via HERE. Do
pop on over here to get inspired by the Design Team's creations and for
the challenges details and rules. You could win a £15 voucher to spend on the website.
Please do stop by for another blog project next Monday.
I do hope you liked my project and go on to create your own, These stamps are so much fun to work with!
Barbara